
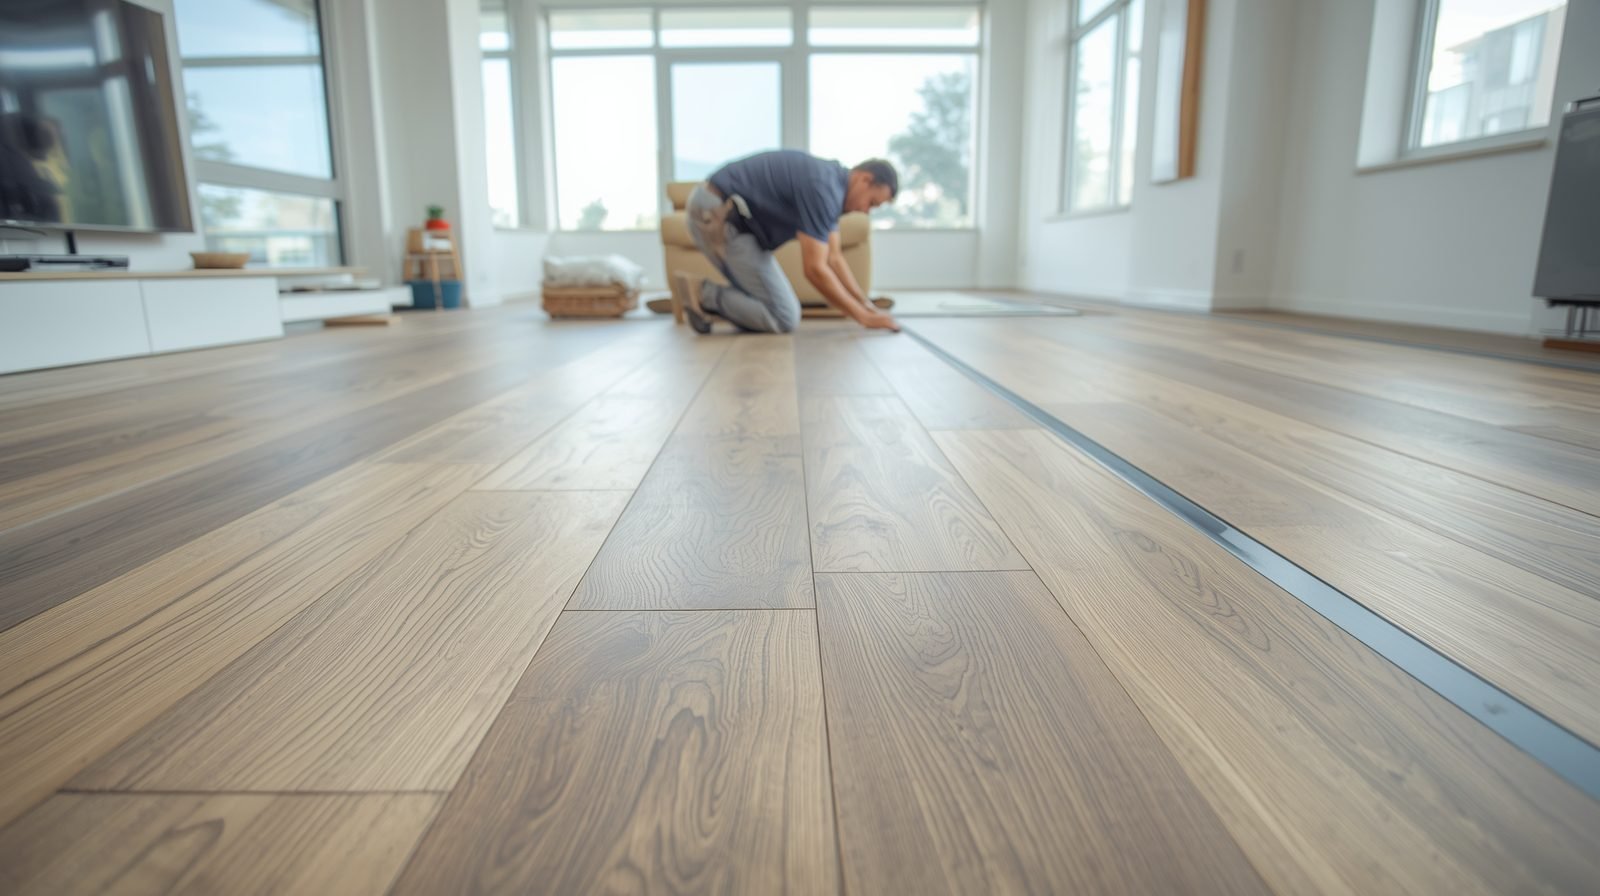
How to lay laminate flooring pattern might sound challenging at first. But once you understand perfectly the design and main work of flooring, it becomes a lovely program that can absolutely revolutionize your space. If you’re working on plywood, concrete, or a wood subfloor, the best flooring pattern can make your space appear larger, attractive, shiny, fresher, and more modern.
Friends in this blog, you’ll learn each and everything, from selecting the awesome flooring pattern and measuring correctly to placing your wood boards the right way and ignoring common mistakes.
What Is the Laminate Flooring Pattern?
Laminate flooring pattern is the shape or design in which your floorboards are laid. Imagine it like the accent in a song, it puts the lyrics of the whole floor.
A few patterns create a place that looks lengthy and beautiful, others build it to think wider, and some attach character with neat and beautiful curves or angles. The pattern you opt for affects both sides how your floor design looks and how it adjusts jointly.
In this article, here are the five extraordinary laminate flooring patterns you’ll view in every home:
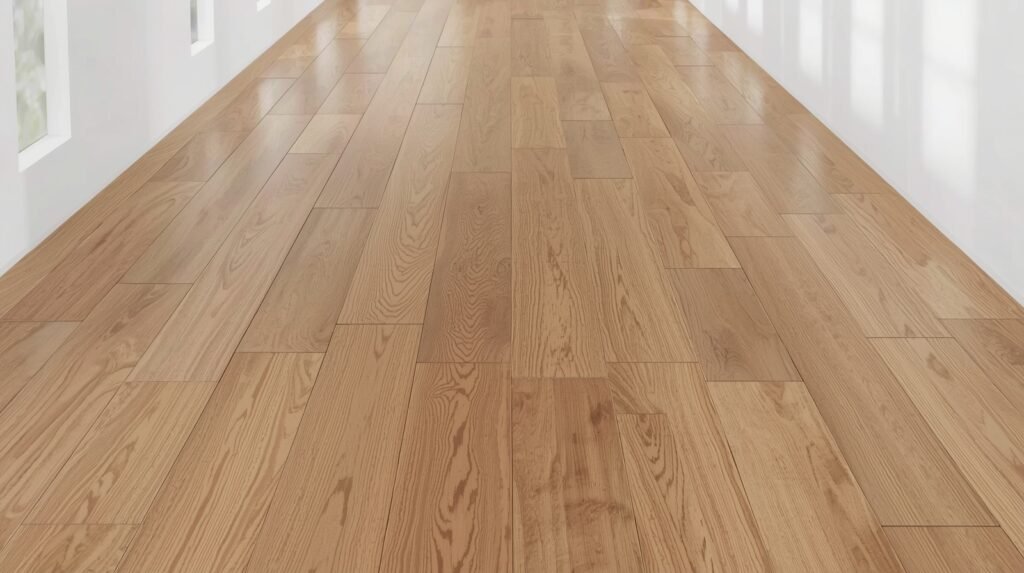
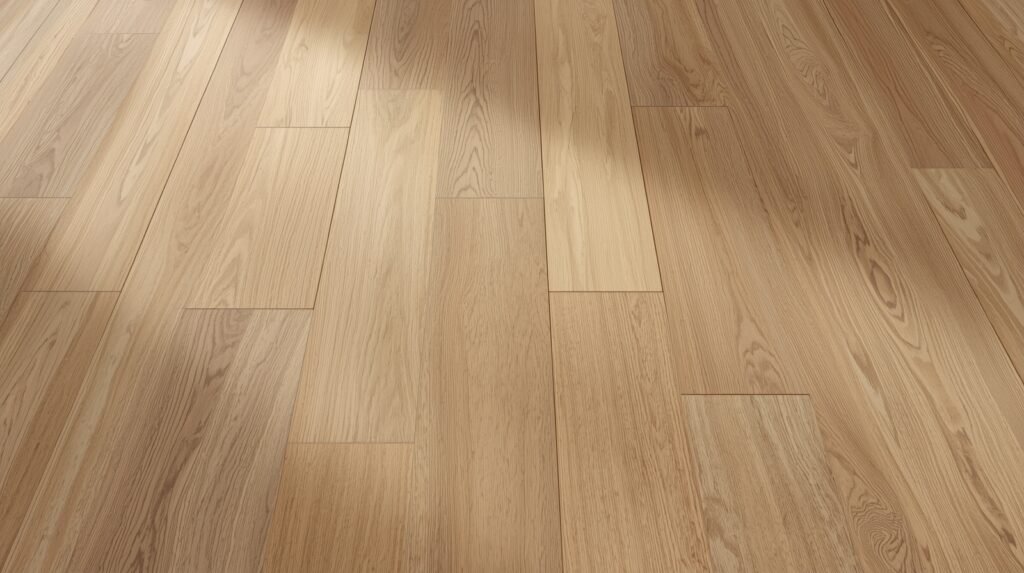
- Straight pattern: easy, ideal, spotless, and timeless, perfect for every space. The floorboard goes side by side to the lengthy wall or the main light emerging, creating a leveled and seamless look.
- Diagonal pattern: Stylish and modern zigzag on the linear design. It optically enlarges tiny spaces and attaches a smart and stylish floorboard border. Even so, the Diagonal pattern grabs more of the floorboard, but the effect is valuable. Boards move at a 45° gradient, putt in motion and space vision.
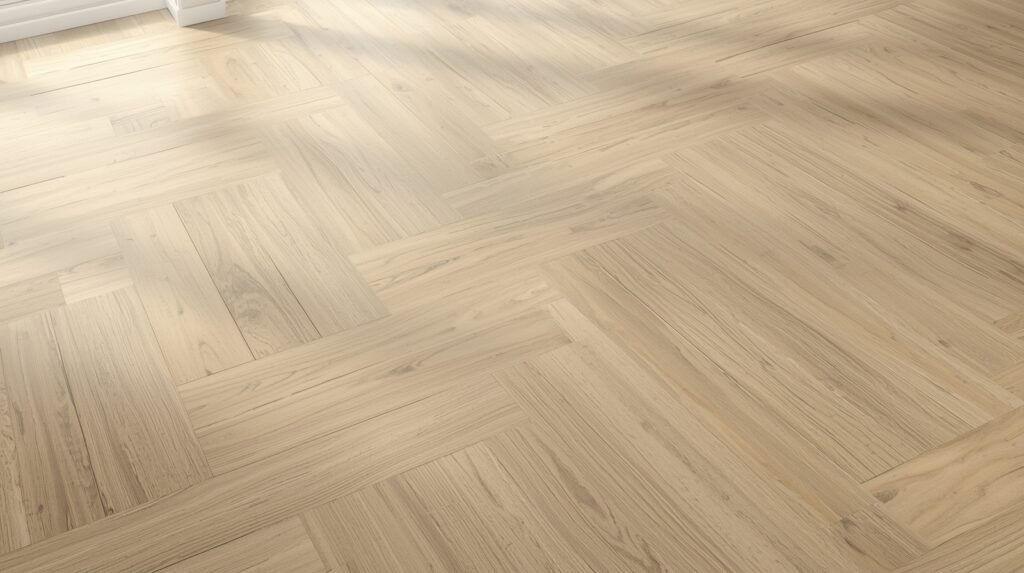
- Herringbone pattern: Floorboards are laid in a “V” frame, making a timeless, beautiful, and stylish view.
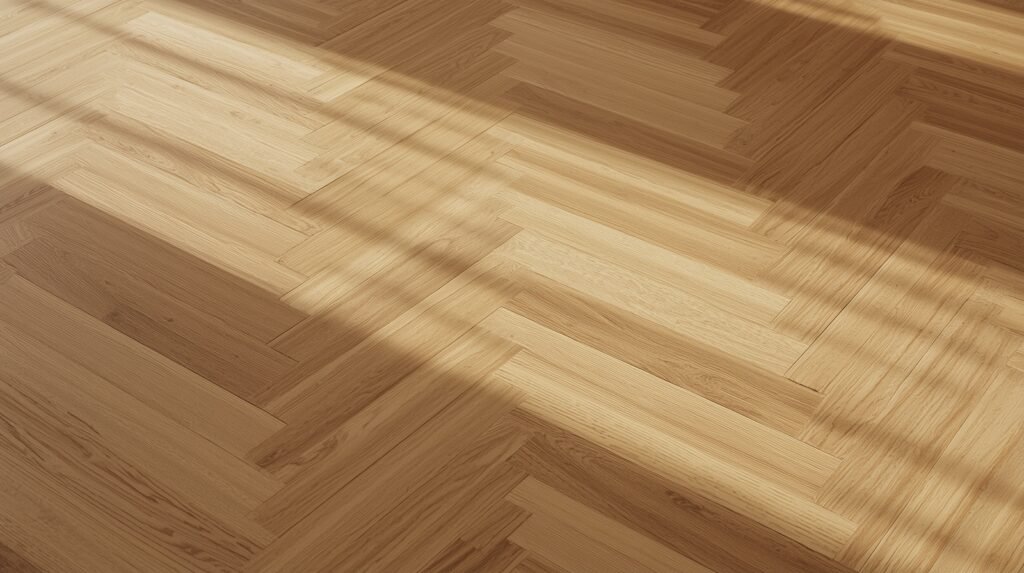
- Chevron pattern: This pattern provides a lavish, expensive look frequently seen in the newest or European old-world beautiful style interiors. Alike to herringbone, but with flawless edges and sharp sequence.
- Random staggered pattern: All rows’ end bonds are neutralized for hardiness and a natural arrival. Don’t line up the seams in a linear line constantly; a random staggered pattern looks superior and helps keep the floor from acquiring unsafe holes.
Every one pattern has its own personal attractiveness and beauty, and familiar how to place it faithfully constructs all the dissimilarity.
Tools and Preparation Afore You Start
Before you start laying any flooring pattern, preparation is the key to the best result.
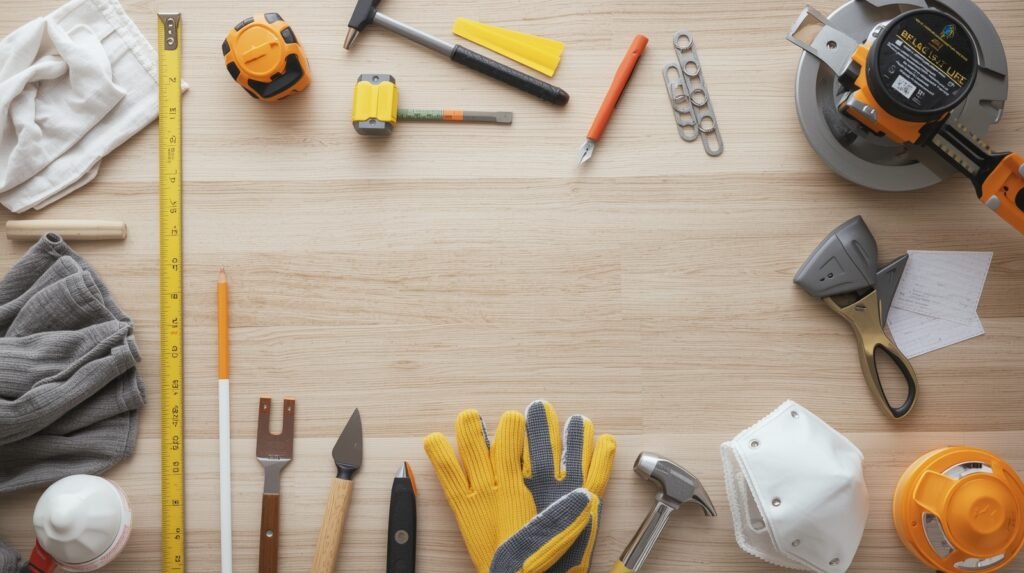
Tools You’ll Require to Lay Laminate Flooring Pattern
- Tape measure
- Chalk line or string line
- Pencil and straight edge
- Saw (circular or jigsaw)
- Hammer or tapping block
- Spacers (for expansion gaps)
- Utility knife
- Underlay (sound and moisture barrier)
- Safety gear (gloves, goggles, mask)
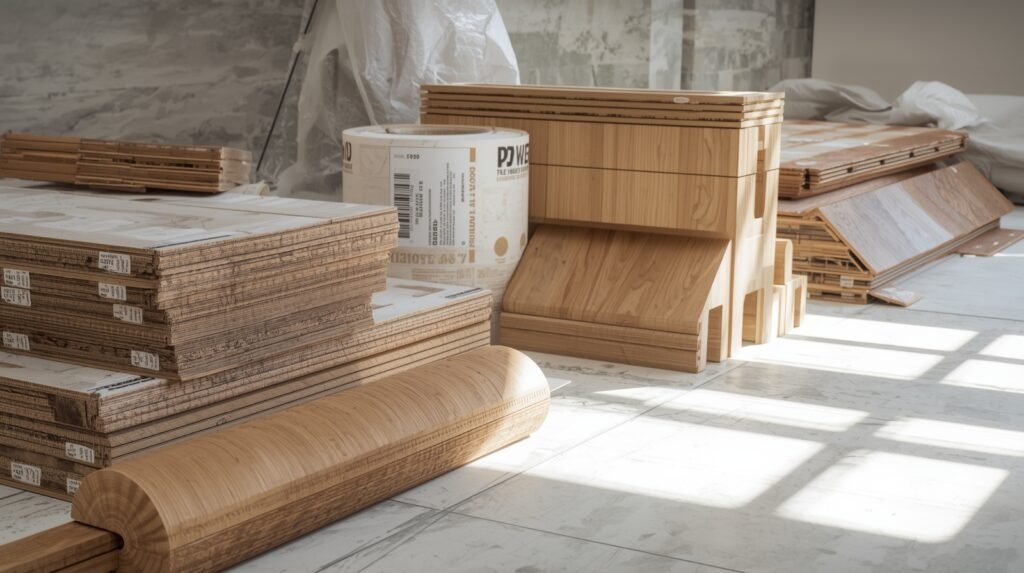
Materials
- Laminate flooring packs
- Vapour barrier tape
- Skirting boards or trim
Preparation:
Start your project with a spotless and smooth, I mean, level subfloor. Brush away rubbish, fix rough places, and make sure it’s dry. Confirm your laminate floorboards for at the minimume 48 hours in the application space. This helps them enlarge or settle naturally before sealing in place.
If your laminate doesn’t involve underlayment, the first step is to tenderize footfall traffic, decrease voice pollution, and mitigate humidity issues.
First of all, plan your setup wall and measure the size two time earlier, trimming any floorboards. Remember, a few minutes of best planning saves many hours of disappointment afterwards.
Slowly but Surely: How to Lay Laminate Flooring Pattern in your beautiful space
Let’s Start Buddies:
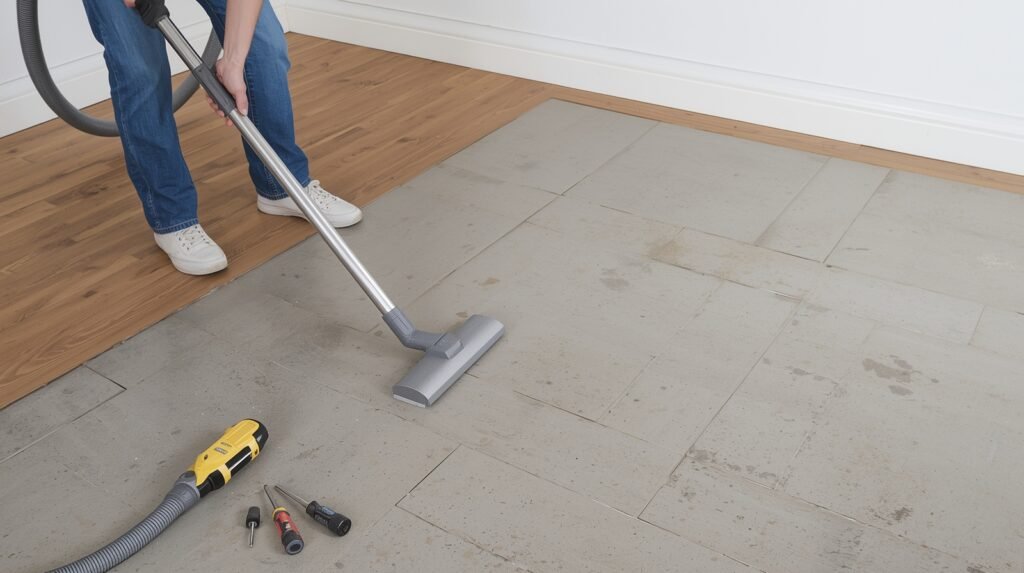
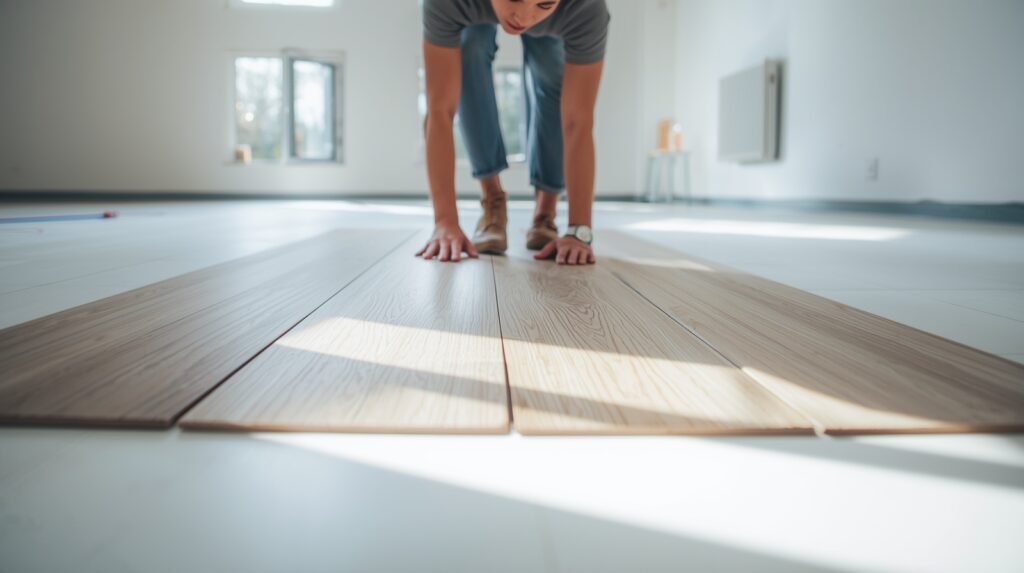
First Phase: Prepare the Space
Clean the space and take out skirting boards if feasible. Brush and hoover the subfloor to take out dirt, clay, and waste materials. Any mini piece of dust can break down your pattern sequence later.
Should you lay laminate or vinyl on concrete, make sure the surface is waterless, dry, and perfectly level. On plywood or wooden subfloors, tighten or screw down any loose boards so the floor doesn’t create any shrill sounds.
My Personal Story:
One time, my colleague forgot to clean the wood particles before installing the boards. Afterwards, a one wood shreds caused a board to sit unequally, and he had to remake that whole row!
Second Phase: Select Your Best Pattern and Direction
This is one of the most ignored but powerful and great design judgments. The direction you set your boards can fully transform a space’s vibes.
Before you begin the installation, take a short time to be one’s your feet in the doorway and notice the space. You can also explore some floor designs ideas for every space to envisage how different patterns might modify your space. Numerous people like to location the boards so they run side by side to the long wall or in the direction of the main light source, similar to a window. This design all the time makes the space more wide-open and visibly stabilized.
- Chase the Light:
Start by looking for your main light source, usually the windows. When you lay the boards in the same direction as the natural light, the seams mix in better and the floor looks smoother and shows more natural beauty. - Space Structure Very Matters:
In lengthy, limited space, arrange the boards side by side and lengthwise of the wall to make the space look bigger. In a wider space, diagonal patterns can stabilize a portion and create optical depth. - Open Floor Ideas:
If your space has a room’s connection, take one steady direction for movement. Changing directions between rooms can look untidy unless you use the passage deliberately. - Hallways:
Lay boards linearly down the hall for a spotless, extended look. It naturally shows your eyes over the room, creating each and everything to feel more openness and connectedness.
Should be that floor pattern in the diagonal, herringbone, or chevron, consider measuring properly and preparing. Should be a chalk line for your design so the rows stay straight and neat in each row for a clear view.
Small information like this can raise a plain installation into something that feels structurally designed.
Expert advice: Apply a laminate flooring design architect (online, on architecture software sheets, or on paper) to envisage how your boards will look and where seams will flop.
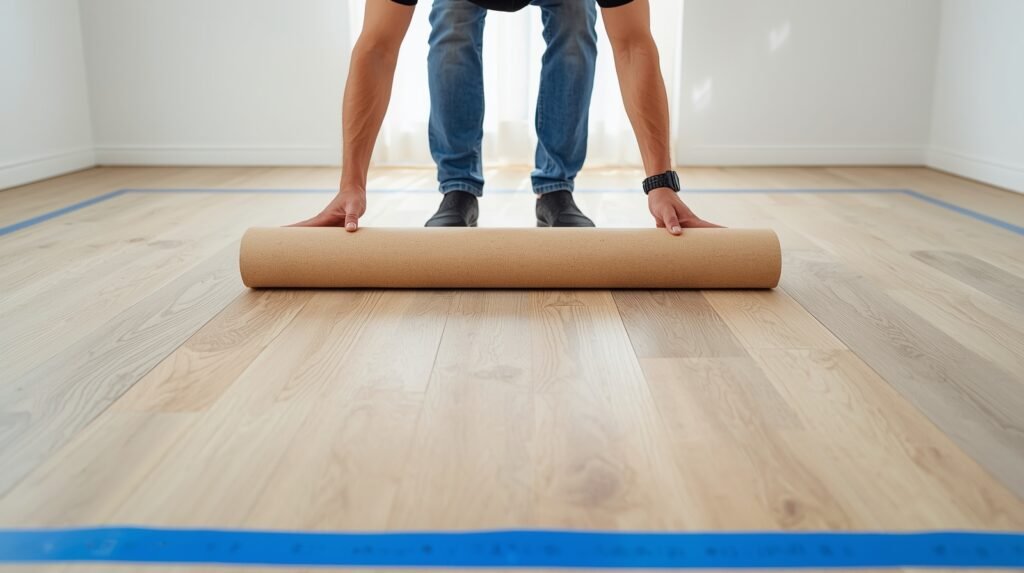
Third Phase: Apply the Underlayment
Move on your underlayment in the same direction you plan to install the laminate. This helps cushion the floor and decreases sound pollution.
Seal the borders with vapour tape for a smooth, waterproof surface.
If you’re wondering how to install laminate flooring without underlayment, only do that if your selected floor boards already have underlayment attached.
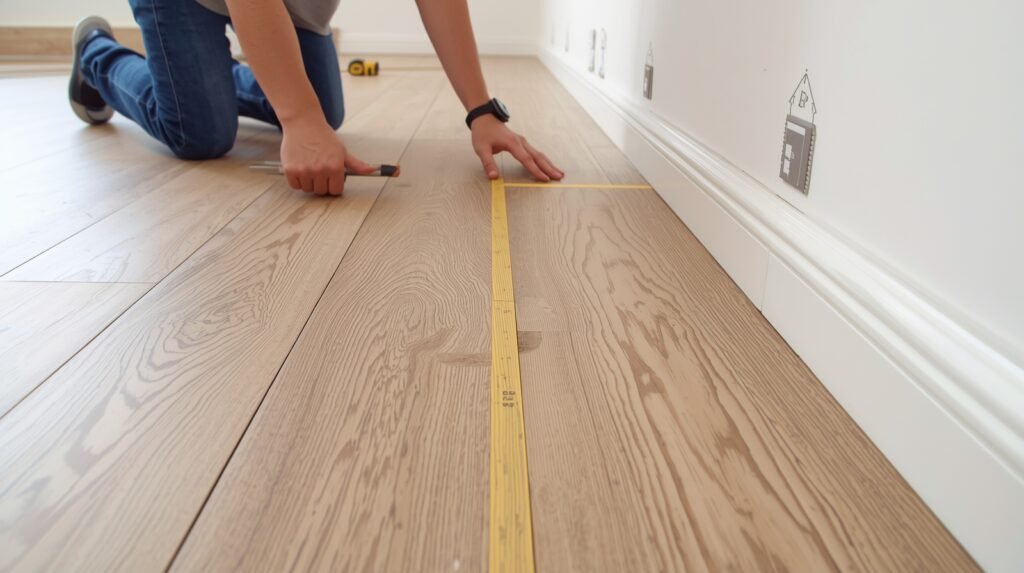
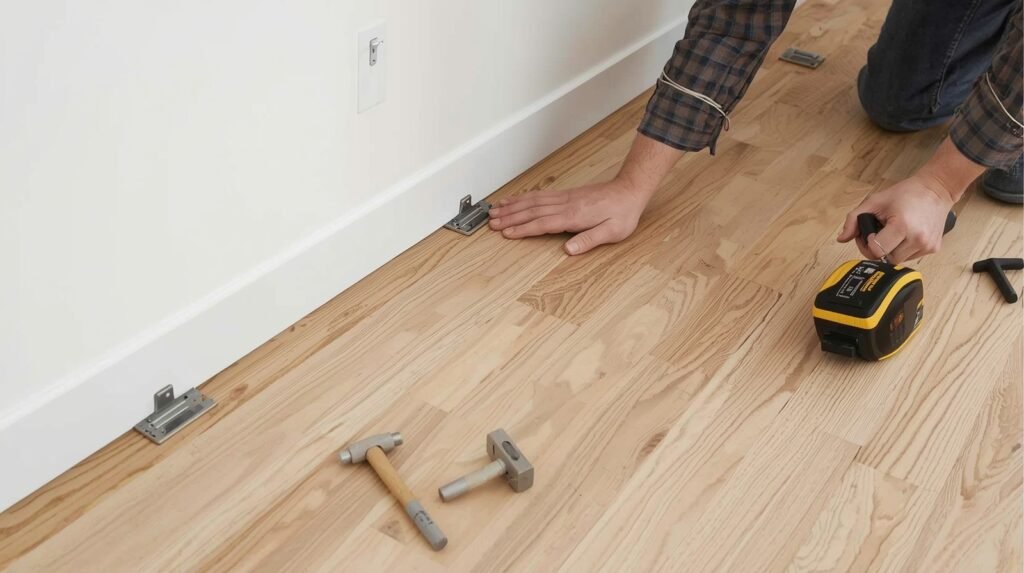
Fourth Phase: Put a Linear Starter Line
Use a cord line or chalk to mark your first linear border. Always leave a 10mm expansion gap between the boards and walls; this stops the floor swelling or contracting with the weather.
Dear readers! You need to read again the above line; every pattern you build will depend on it.
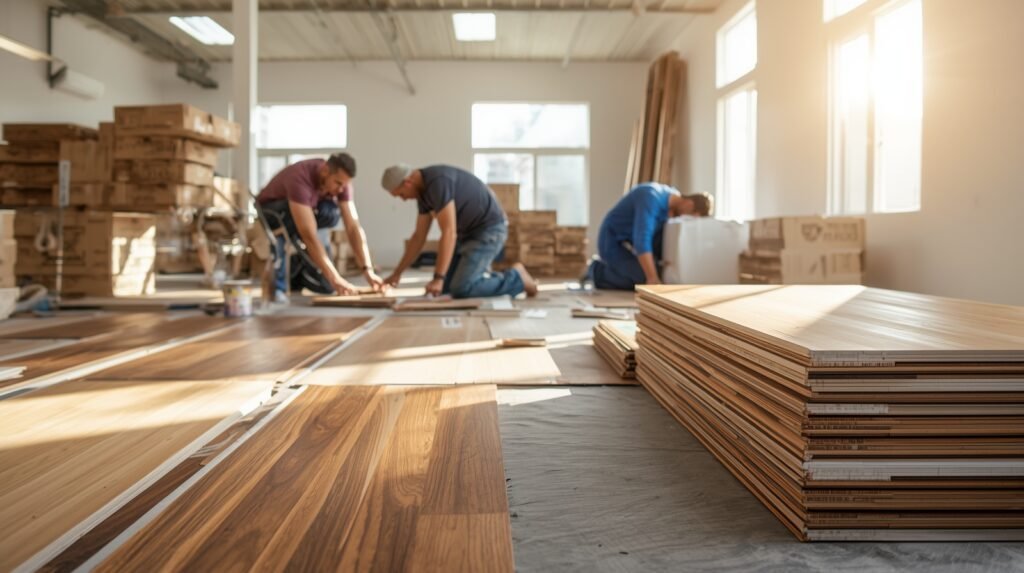
Fifth Phase: Start Laying Your Laminate Flooring With the Best Patterns
Let’s go over some easy ways to lay different floor patterns and make your space look beautiful and more attractive:
1. Straight Pattern (Simple Classic Look)
This is the simplest pattern for beginners and the most ordinary way to lay flooring. Only attach one board to the second, keeping each joint staggered a minimum of 12 inches.
This staggering stops weak places and provides a natural move to the floor.
How to lay laminate flooring pattern on a wood subfloor:
- Begin with the lengthy wall.
- Use spacers to keep your enlargement gap.
- Cut the last plank in each row to fit, and use that remnant piece to start the upcoming row; It naturally staggers the seams.
2. Diagonal Pattern (Lively and Modern Look)
If you want your space to look bigger or more exciting, lay your boards at a 45° angle.
It needs more cuts, but it provides a beautiful optical result.
How to lay laminate flooring pattern on concrete or plywood:
- Start in the area where the largest diagonal travels.
- Use a chalk mark to teach your first row.
- Crop each board end carefully with a jigsaw.
My Personal Story:
Once my friend laid a diagonal design in her hallway, she was astonished, the small space immediately looked double as wide and attractive!
3. Herringbone Pattern (Classic and Elegant Look)
The herringbone design looks like rows of “V” shapes repeating on the floor. It’s stylish and provides worth to any home.
To lay this pattern:
- Blemish the center of the space and snap a chalk line to use as your teach.
- Begin with two boards set up a perfect 90° “V.”
- Keep up laying each piece in a zigzag design, interchanging directions.
Be Patient; accuracy matters in the work. Use spacers and check the arrangement in every few rows.
4. Chevron Pattern (Clean and Sharp Look)
Alike to herringbone but with an angled finish (often 45° cuts), chevron makes accurate edges that meet perfectly.
- Cut board ends at equal angles.
- Use a chalk direction for accuracy.
- Begin from the middle of the space and work outside for equality..
This pattern outfits modern spaces and can make a small space look more energetic and shiny.
5. Random Staggered Pattern (Natural Wood Look)
This pattern uses boards of different lengths located in a mixed design. It provides the floor with a moderate, real wood feel and look that looks hot and natural.
This design copies the look of real wood, erratic yet stabilized.
To get this look:
- Use very lengthy boards.
- Don’t line up the seams in the same place every some rows. Mix them so the floor looks natural and smooth, and luxurious.
- Maintain at least 6–12 inches between seams for firmness.
How to Lay Laminate Flooring Pattern on Different Surfaces
On Concrete:
Laminate atop concrete requires exactness. The concrete slab must be perfectly dry, plane, and free of dust or paint. Every time, use an underlayment that has a wetness stop obstacle in. It helps keep water vapor from going to the floor. Check the floor before you start—any bit of wetness can make the wood bend. Fill in low holls with leveling mix, smooth out high holls, and seal the joints near the walls. Leave space around every edge so the floor can move properly.
On Plywood:
For a plywood base, it must be perfectly hard. All screws tightened, weak sheets restored, and no showing between seams. Lay a breathable foam underlayment for cushion and some air to move, not a plastic vapor stop, except in a high wetness risk plot. Keep a place, smooth surface; any protuberance or crest will resonate through the laminate pattern and finally cause joints to break.
On Wooden Subfloor:
The old wood boards will need to be sanded space, re-screwed, and the squeaks or gaps cleared of. To distribute the weight and stop the seams from separating, install the laminate vertically to the floor joists. Use a slim and thin foam cushion for support, but avoid confinement that causes wetness. And steadiness and alignment are paramount; every piece of board below will be apparent above, so the base must feel absolutely solid before the first board seal in.
Common Mistakes When Some Unprofessional People Lay Laminate Flooring Pattern
Even skillful people make mistakes. Below are the three common mistakes that need to be avoided:
1) They skip letting the flooring settle. We’ll just open the boxes and start immediately
An event: A team shows up in the morning, unlocks the boxes, and lays the first rows of floorboard. The homeowner thinks they’re doing the work very perfectly and fast. But two weeks later, gaps take shape with the line, and a board close by a Sunlit window begins to rise. The flooring didn’t have time to adjust to the space temperature and wetness, so it swelled and diminished in erratic ways.
Why it’s Important: Flooring boards absorb water from the air and respond to temperature changes. If you place them down right away without letting them get used to the space, they can swell, diminish, or pull apart later on. This can cause gaps or boards to bend. Taking a small additional time before placing floorboards helps avoid these issues.
Here’s what you do to fix it, one step at a time:
Carry the unopened floorboard cartons into the space where they’ll be placed, and keep them for 2 to 3 days in (or follow whatever time the maker says).
- Just open and install the boards after this time. If any boards look misshapen, lay them flat and give them more time before cutting or installing.
2) We’ll keep it tight so it stays in place, so it won’t move or slip
An event: The installer fits the floorboards tightly against the baseboards and nails the quarter-round right into the laminate. After a warm week, the floor begins to crack and warp because it has no space to expand. The homeowner thinks the floor is bad.
Why it’s Important: Floating floors need space to move and expand. When the floor is nailed to fixed trim, it can’t move, and that causes buckling.
The steps below are what you do to fix it. One plaintiff at a time:
- Use spacers to leave the gap the maker says around the whole space and near anything that doesn’t move.
- Take off the crop and quarter-round, and put them back nailed only to the wall, not the floor.
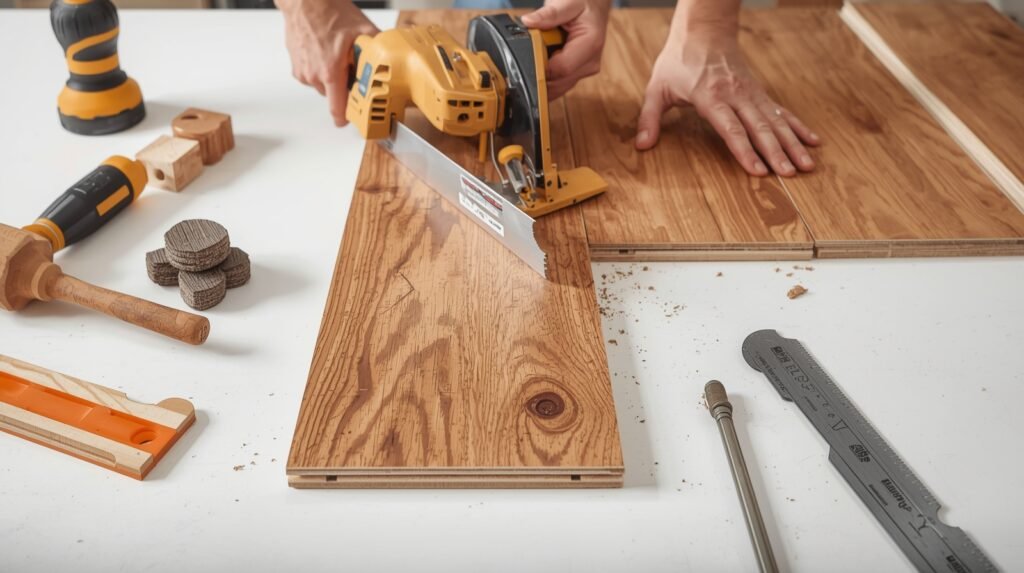
3) Bad cutting method. I’ll just use my exhausted blade
An event: Somebody uses an exhausted blade and a jigsaw set incorrectly, chipping board edges and destroying the board where it locks. Joints don’t close tightly, and those boards are shredded.
The steps below are what you do to fix it. One plaintiff at a time:
- Use a fine-toothed blade or a cut-and-snap method recommended by the floor maker.
- Cut with the finished side up or follow the saw-type guidance for the tool you use. Test cuts first.
- Have a genuine tapping block, pull bar, spacers, and a mallet. Never stick the board edges directly.
4) Poor board staggering and weak pattern design. We’ll just be progressing the chevron pattern
An event: A team begins a herringbone run without dry laying a starter. They end up with extremely thin bits of the wall and lots of tiny cuts. The pattern looks rough and weak. Special patterns make mistakes clear.
The steps below are what you do to fix it. One plaintiff at a time:
- For linear runs, stagger end joints minimum 6–8 inches or on maker guidance. For chevron, herringbone or diagonal, pattern dry or test a 2–3 row simulation.
- Buy 10–15% extra for straight pattern and 15% or more for diagonal or patterned installations to cover waste places.
Expert advice: Use painter’s tape to mark different pattern designs on the floor before you start. it helps envisage the final beautiful result.
Last Advice for a Professional and Best Finish
- Always mix boards from different boxes for color steadiness.
- Use a flooring block slightly; never hammer straight on the board.
- Reattach skirting boards to protect enlargement gaps.
- Clean with a dry sponge first; avoid excessive water.
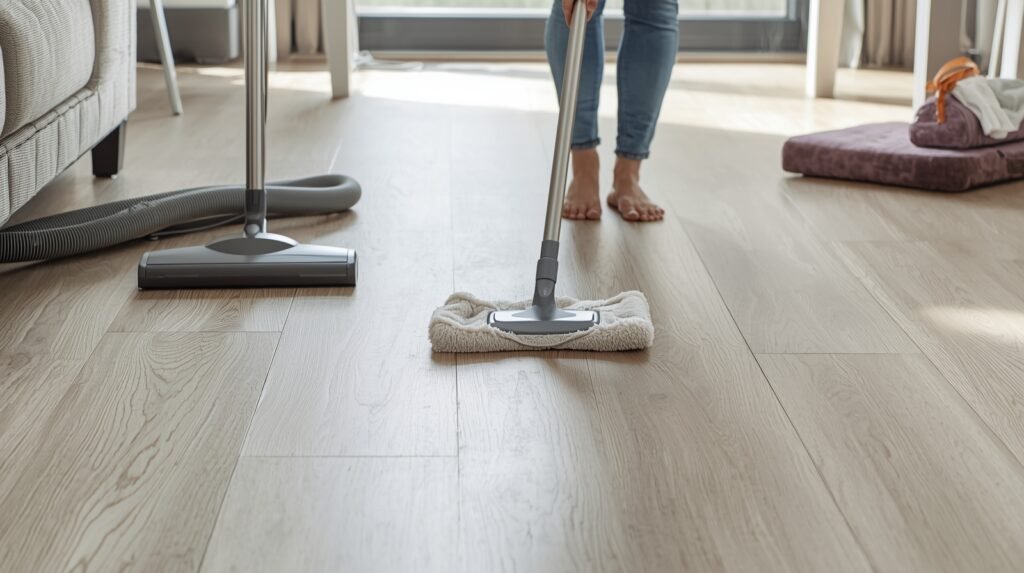
Caring for Your Laminate Flooring Pattern
Laminate flooring has little maintenance, but not shatterproof. Sweep or vacuum often to stop the scratches and cuts. Use a wet mop, just scarcely wet, and clean with good products and tools made specifically and perfectly for laminate floors. Avoid hard chemicals or drench the floor to keep it looking shiny, attractive, and more popular.
Avoid dragging heavy furniture and heavy things; use pads or sliders. With just a small care, your pattern will stay attractive, smooth, bright, and fresh for many years.
Conclusion
Researching how to lay laminate flooring pattern is about patience, exactness, and planning. Once you understand how patterns run and how to laminate patterns, you’ll realize how much capacity you have to shape and design the look and frame of your space.
In case you’re installing laminate flooring on concrete, plywood, or a wood subfloor, the right design can transform an ordinary space into something lovely.
So take your best time, plan and select your pattern, and enjoy the process of work, because when you’re perfectly complete, you won’t just have a new floor; you’ll have a piece of design you set up yourself. For more helpful information and inspiration, learn more at GrowWithHome.
Thank you very much for visiting and reading our blog.
GrowWithHome!
2 thoughts on “How to Lay Laminate Flooring Pattern A Complete Beginner’s to Skillful Guide”
Comments are closed.