
Small bathroom designs with shower and toilet design ideas work when each individual room decision is deliberately made. In tight quarters, design is not about decoration first; it’s about space to move, preventing moisture buildup, and fixture depth and visual continuity. When these things are dealt with properly, even the tiniest of bathrooms can feel both cozy and orderly.
This guide explains 14 real layout designs step by step. Each one indicates where the shower goes, where the toilet fits, why it works, and when to use it. The objective is practical planning, not trend styling.
Design 1: One-Wall Linear Shower and Toilet Layout
This layout places the shower and toilet along the same wall line.
Step one: Find the longest wall in the room. Step two is creating a wall at one end of that wall so that plumbing can make a straight run. Step three is placing the toilet further down on that same wall with adequate clearance on the side. This keeps all wet plumbing consolidated.

This design works best in narrow rectangular bathrooms because it preserves a full walking path on the opposite side. It reduces pipe complexity and makes drainage slope easier to plan.
Design 2: End-Wall Shower With Side Toilet Layout
In this design, the shower occupies the full width of the back wall.
Measure the back wall width first. If it can accommodate the shower enclosure perfectly, put the shower there. Now set the toilet against one of the side walls near the door, but not within splash range. This gives a front-to-back read of the space, which elongates it.
This is one of the most reliable small bathroom designs with shower and toilet for tight rectangular rooms.
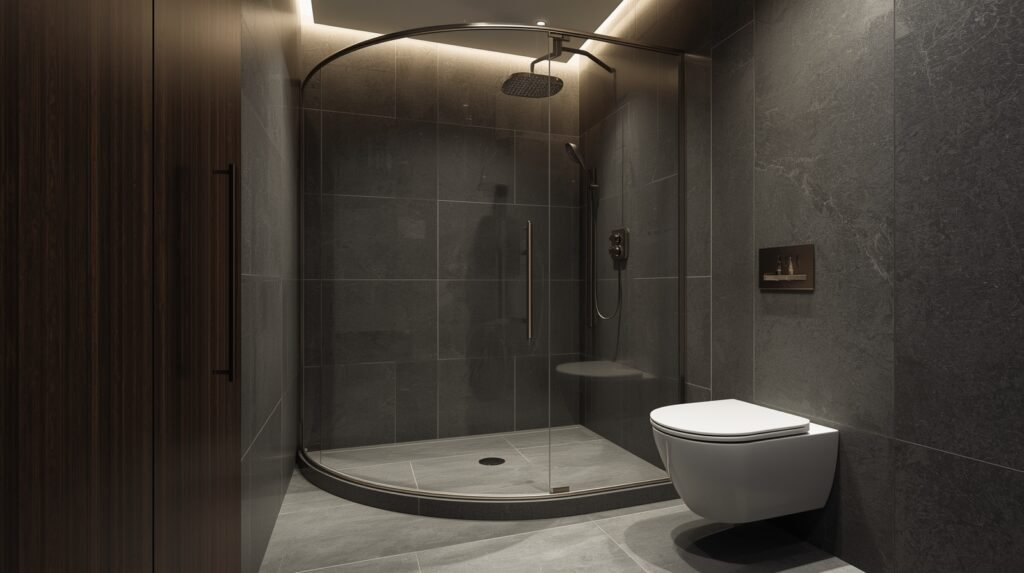
Design 3: Corner Quadrant Shower Layout
A quadrant shower features a curved front and fits neatly into a corner.
Start by selecting the least interrupted corner (no door swing conflict). Install the curved shower enclosure there. Then place the toilet on the adjacent wall, not directly touching the glass, but with usable side space.
The curved edge improves walking clearance in the center of the bathroom and removes sharp visual corners that make spaces feel tight.
Design 4: Neo-Angle Shower Corner Layout
A neo-angle shower uses two angled glass panels instead of a curve.
First, choose a corner with enough diagonal depth. Install the angled enclosure. Because the entry is centered on the angle, door clearance is more efficient than square units. The toilet can be placed on either neighboring wall, depending on knee space.
This layout is useful when you need corner placement but want a wider shower entry.
Design 5: Diagonal Shower Placement in Square Bathrooms
Square rooms often waste corners if fixtures are placed flat.
Instead, rotate the shower diagonally across a corner. This frees both straight walls for the toilet and storage. Step by step: mark a diagonal footprint, install the angled base, then align the toilet on the longer uninterrupted wall.
This breaks boxy geometry and improves circulation angles.
Design 6: Walk-In Single Glass Panel Shower Layout
This shower uses one fixed glass panel and an open entry.
Place the shower head on the far wall. Install a fixed glass panel partway across the shower width. Leave the entry side open. Then position the toilet outside the splash distance line.
Floor slope must be carefully directed toward the drain because there is no door barrier. This design increases visual openness.
Design 7: Curbless Wet Room Layout
A wet room removes the shower curb completely.
Step one is full waterproof floor treatment. Step two is sloping the entire floor gently toward a linear or central drain. Step three is placing the toilet outside the direct spray path but on the same waterproofed plane.
This small bathroom designs with shower and toilet approach visually enlarges the space but requires precise floor engineering.
Design 8: Half-Wall Shower Divider Layout
Rather than glass, a half-height wall divides the shower and toilet.
Construct a barrier wall high enough to stop spray, but low enough to allow light. So put the shower behind it and the toilet on the other side of that. Include an inset niche in the partition for storage.
This gives privacy and splash control without fully closing the room.
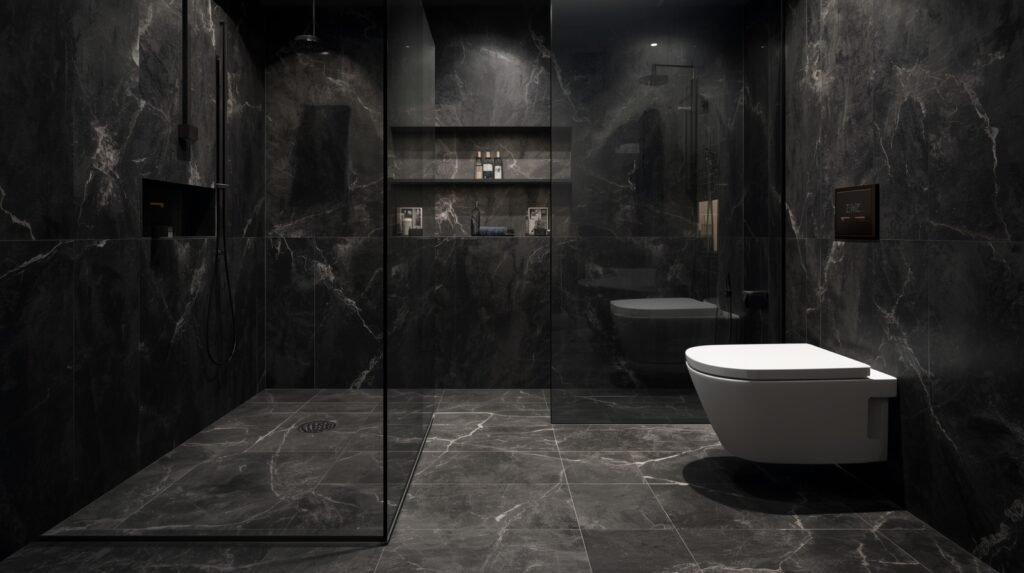
Design 9: Full-Width Glass Shower End Layout
The shower spans the full back wall with clear glass.
Install a wall-to-wall glass enclosure at the end. Place the toilet along one side wall before reaching the shower zone. Because glass is transparent, the full room depth remains visible, which increases perceived size.
This works well when the back wall has enough width.
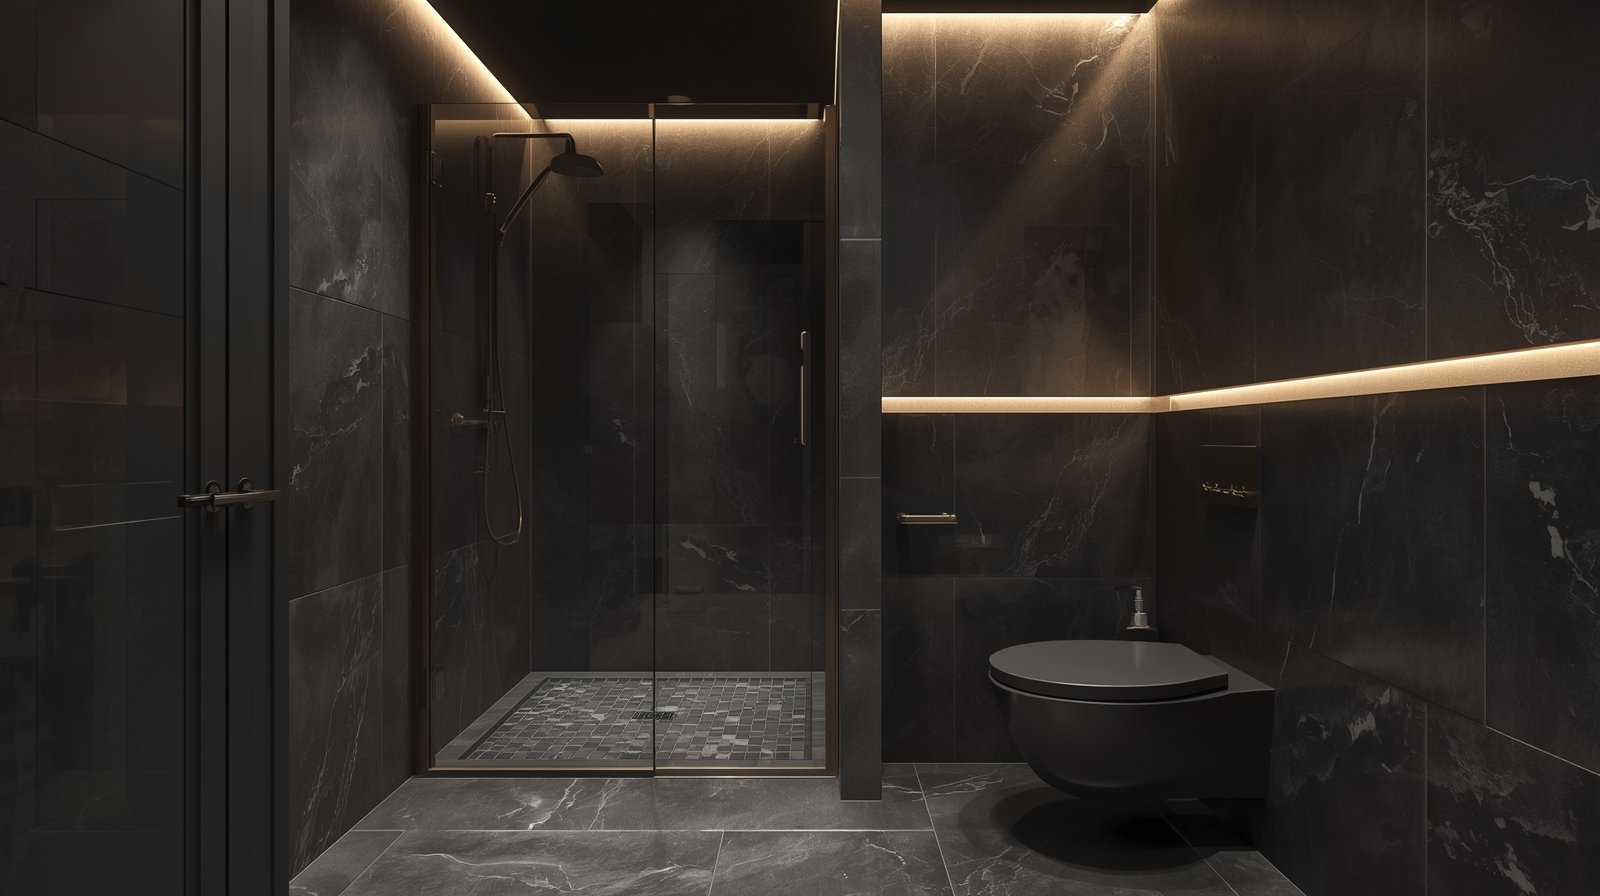
Design 10: Wall-Mounted Toilet With Compact Shower Layout
This layout uses a wall-mounted toilet to reduce projection.
Install the in-wall tank system first. Mount the toilet so the floor area remains visible below. Pair it with a compact rectangular shower enclosure. The saved projection space improves movement clearance.
This design is effective when the room depth is tight.
Design 11: Parallel Shower and Toilet Layout
Here, the shower and toilet face each other on opposite walls.
Measure room width first. Ensure safe clearance between fixtures. Put the shower on one wall, the toilet on another. Keep the entry path clear between them.
This layout balances visual weight and works when the width is adequate, but the length is limited.
Design 12: Pocket Door Enabled Layout
This design depends on replacing a swing door with a pocket door.
Begin by adding a hatch inside the cavity of a sliding pocket door. The gained swing space can be used to make the shower bigger or move the toilet a little further away.
It is not a fixture layout by itself, but it enables tighter layouts to function correctly.
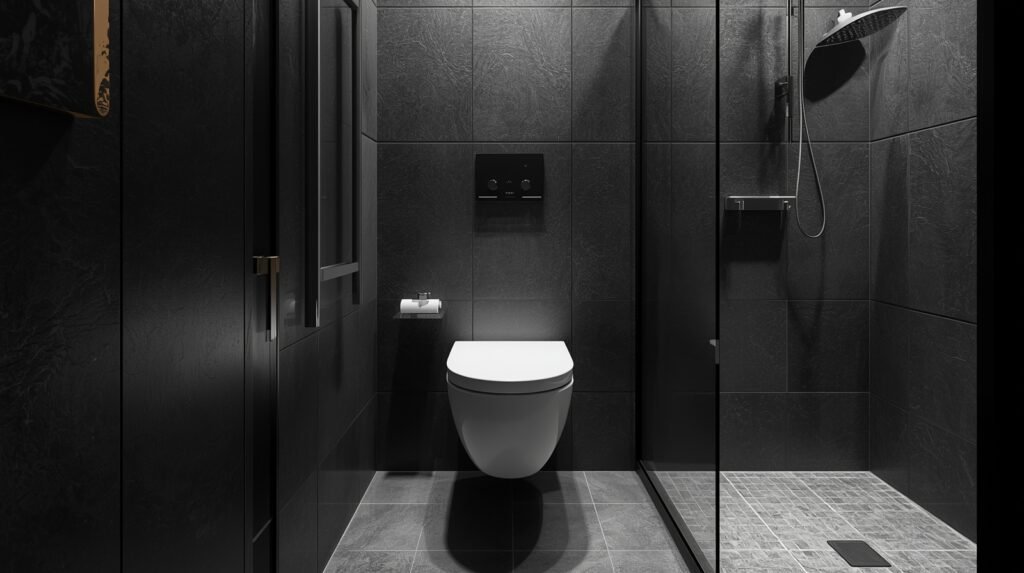
Design 13: Narrow Galley Bathroom Layout
This is optimized for very narrow bathrooms.
Place the shower at the far end with sliding glass doors. Install a compact projection toilet along the same wall line. Keep all fixtures aligned to preserve a straight walking lane.
Sliding doors are important here because hinged doors block movement.
Design 14: Minimal Footprint Fixture Layout
This design focuses on reduced-depth fixtures everywhere.
Choose a short-projection toilet, slim shower base, thin glass panels, and shallow storage. Step by step, verify each fixture depth before purchase. Nothing should extend more than necessary.
This approach is used when structural limits cannot be changed.
Key Planning Details That Apply to All 14 Designs
For all of these small bathroom shower ideas with toilet, some may not work immediately , but there are a few you can try doing, no matter the design.
Toilet centerline clearance should be preserved on both sides for comfort. Shower entry should not collide with toilet knee space. Glass panels visually expand space more than framed or opaque barriers. Recessed storage performs better than added cabinets. Lighting should be layered instead of centralized.
Large continuous surfaces with fewer breaks make the room feel bigger. Vertical storage is more efficient than horizontal furniture. Door swing direction should be evaluated early, not after fixture selection. Beyond layout planning, homeowners can also explore other practical home improvement guides that focus on everyday bathroom functionality and maintenance.
Practical Example Scenario
Consider a 6-by-8-foot bathroom. A corner neo-angle shower is installed at the far right corner. A wall-mounted toilet sits on the adjacent wall with a recessed tank system. A pocket door removes swing interference. A mirror cabinet adds hidden storage. This combination follows proven small bathroom designs with shower and toilet principles — clear path, controlled splash zone, and reduced visual clutter.
Technical Rules That Apply to All Small Bathroom Designs With Shower and Toilet
Clear side space around the toilet must be preserved for comfort. Shower entry should not collide with toilet knee space. Glass panels visually expand space more than opaque partitions. Recessed storage performs better than surface cabinets.
Lighting should include overhead and mirror-level sources to prevent shadows. For more general bathroom layout guidelines and requirements, including recommended clearances and fixture spacing, consult reliable design resources. Large surface materials with fewer breaks make rooms feel bigger. Vertical storage is more efficient than wide furniture.
Door swing direction should always be planned before fixture locking.
Conclusion
Small bathroom designs with shower and toilet are essential, as any addition is designer suits fit in, or an enormous explosion of design contours does little to spur sterile neighborhood houses measuring 3m x suitable granny Cottages. The 14 layouts above are more practical superstructure frameworks, each being ‘shown’ to you step-by-step, so planning decisions can be made with certainty rather than guesswork. When placed correctly with a handle in proportion, streamlined bathrooms are as functional as they are visually spacious.