
Finding your way through an fps tri-seal submersible well pump wiring diagram matters if you handle home or farm water setups. When putting in a fresh pump, yet even when checking problems on one already there, getting the wires right keeps things running without expensive breakdowns.
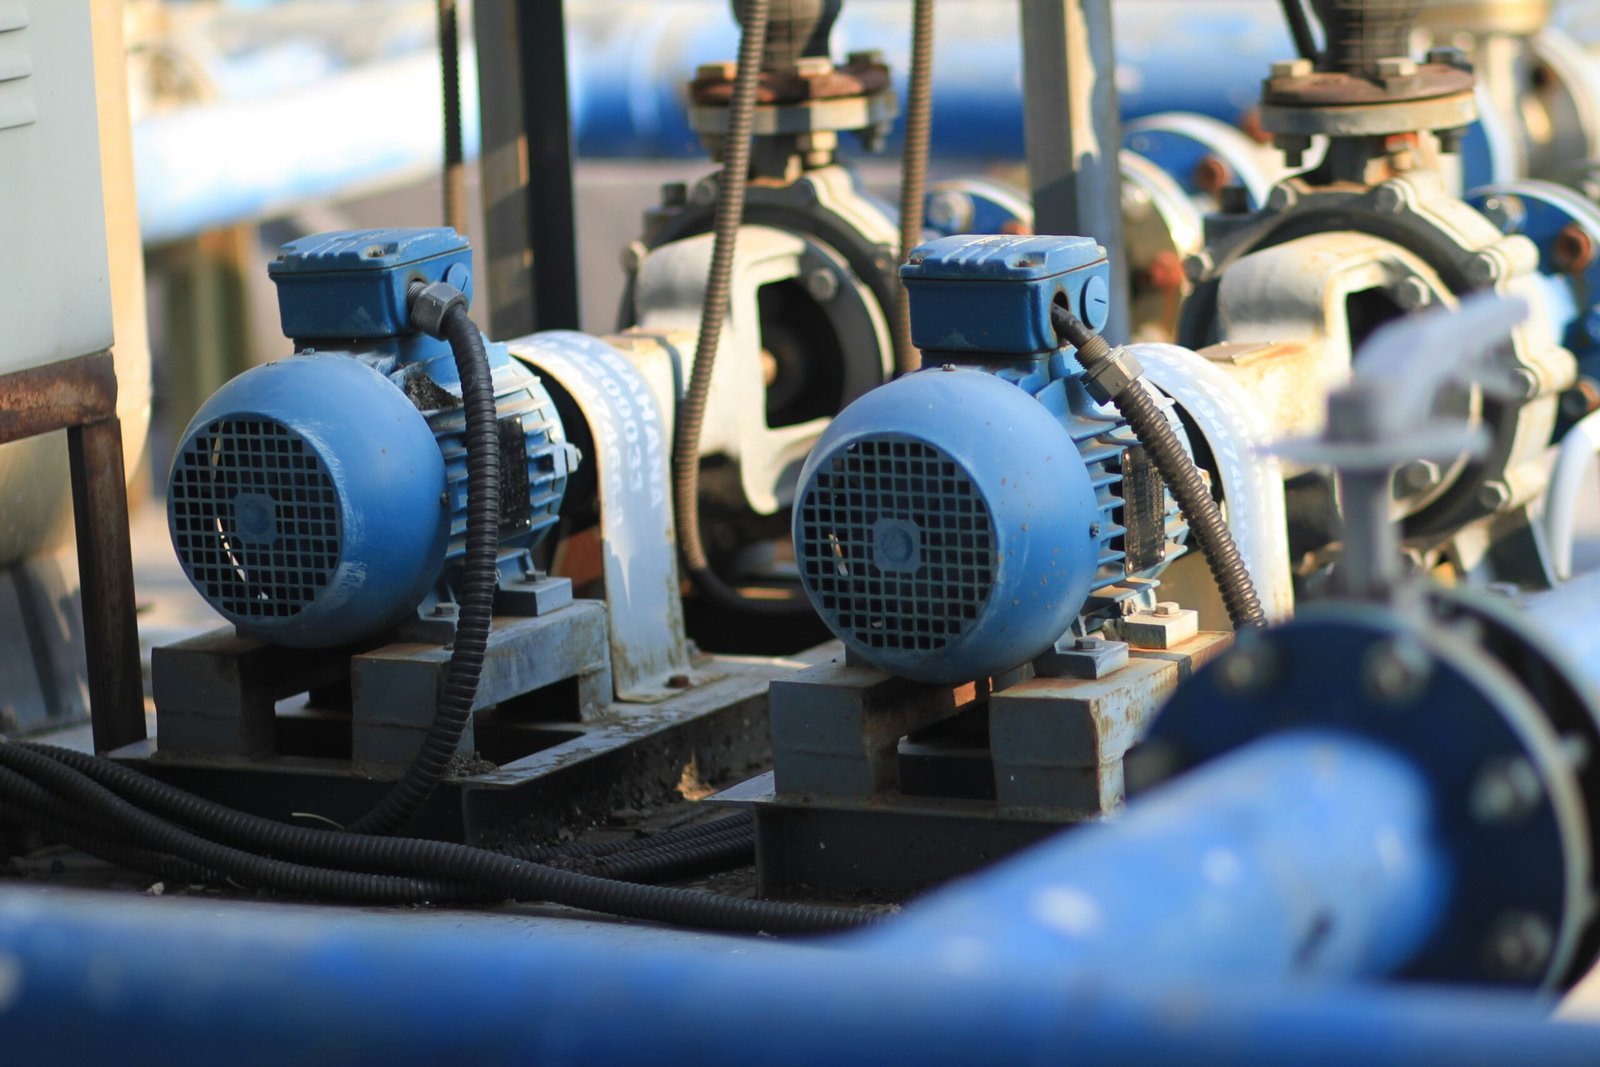
Floating beneath the surface, submersible well pumps need special electrical care compared to regular ground-level models. Built tough, the tri-seal structure holds up longer when soaked, a real plus in very deep shafts where water sneaks everywhere. Still, without careful work – neat splices, solid wraps, grounded touches – the system risks trouble down the line.
This guide covers all the basics – reading the diagram, handling each step safely home water system tips. Not an expert? No problem. Simple breakdowns make it easy to understand. Real-life examples show exactly what to do. Clear steps keep things straightforward throughout.
Understanding the FPS Tri Seal Submersible Well Pump?
Starting off, take a moment to get familiar with the parts you’ll be handling. Understanding comes easier when you know what each piece does before making connections.
Water covers this kind of deep-well pump completely while it runs. Its insides stay dry because three separate seals block moisture from getting in. Because of those layers, it lasts longer even when buried below ground. Tough surroundings underground do not stop it from working steadily over time.
These pumps are commonly used in:
- Residential water supply systems
- Irrigation setups
- Agricultural wells
- Remote water access systems
Far down in the well, the pump needs power – so wires run straight from above, placed just right along the way. Power reaches it only when each connection moves step by step through tight spaces.
Why Wiring Diagrams Matter
A good fps tri-seal submersible well pump wiring diagram shows you the way. Missing one means trying without knowing – this might result in:
- Motor failure
- Electrical hazards
- Reduced pump efficiency
- Frequent system breakdowns
Picture this diagram like a map drawn by hand. From the electrical panel, energy moves toward the pump motor – guided through switches, taking detours at control boxes, finally reaching ground spots. Each part connects not just by wires but by purpose, showing exactly where current travels when things turn on.
Picture plugging in a kitchen gadget, yet unsure which cord carries current. Danger jumps if water’s around – say, near a flooded basement tool. Getting the wiring chart right isn’t optional – it’s how mistakes stay avoided.
Parts of the wiring diagram
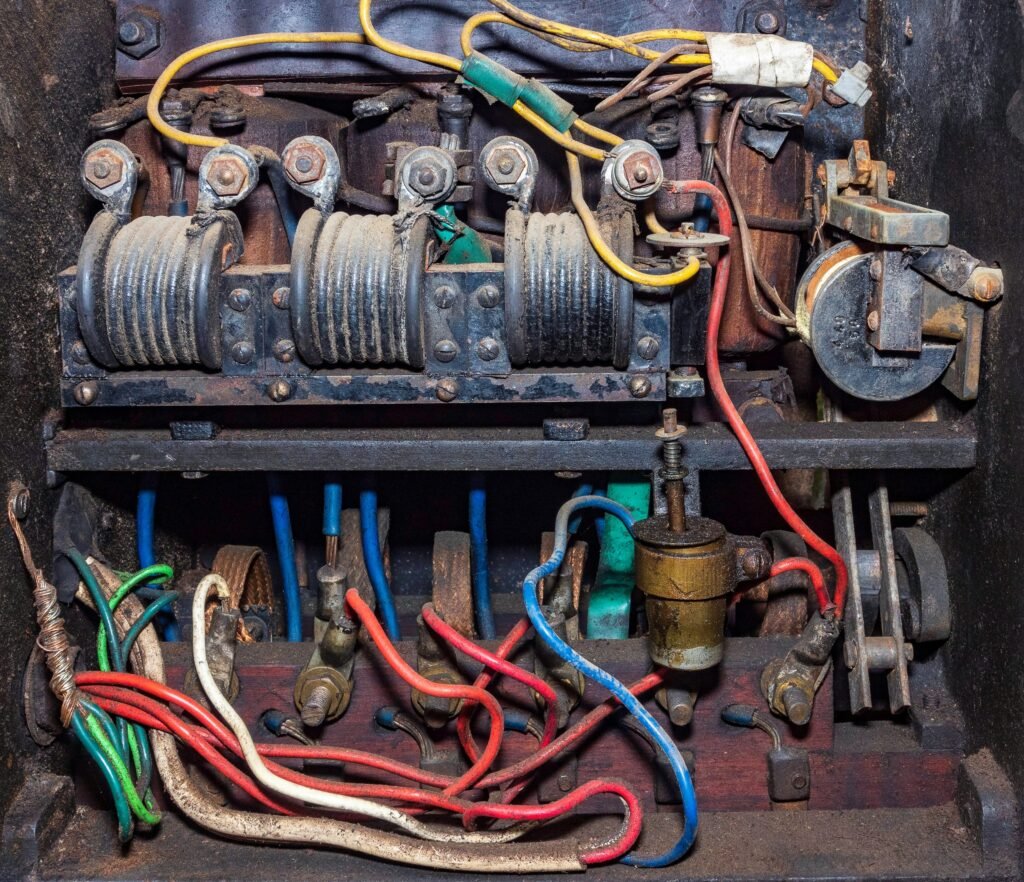
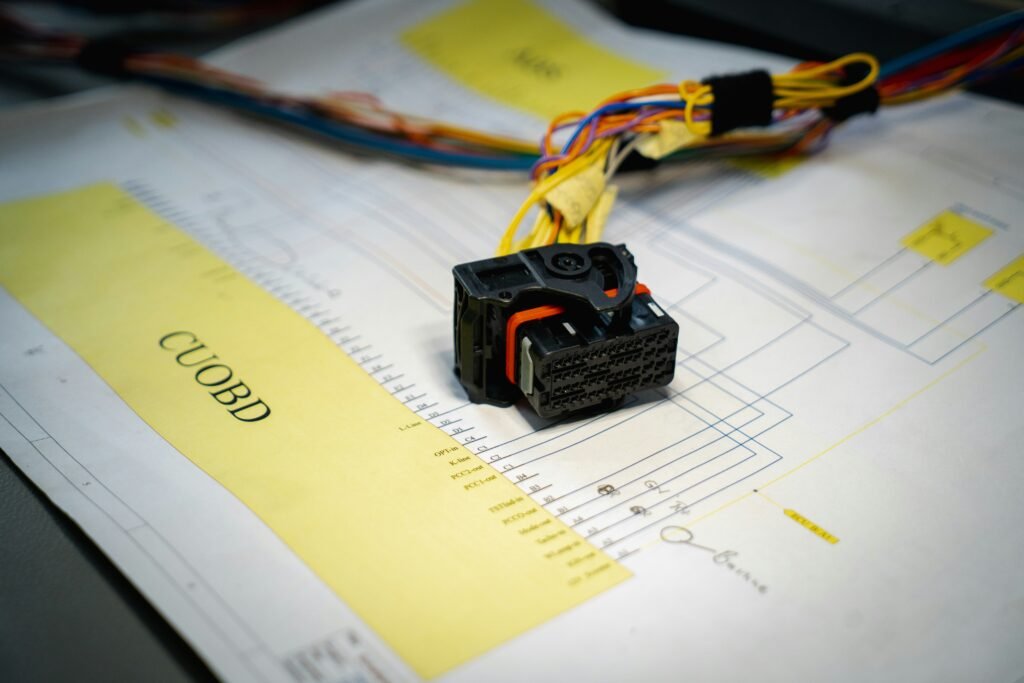
When you look at an fps tri-seal submersible well pump wiring diagram, you’ll typically see several standard components. Grasping what they do sharpens how fast you follow along. Each piece shows up again and again – once spotted, patterns emerge without effort.
Power Supply
Fed by your home’s circuit box, this power feed typically runs at 220 or 240 volts. Power flows here before reaching the pump’s engine, making motion possible through electric supply.
Control Box
A few underwater pumps come with a separate control unit. Inside that box are parts such as relays plus capacitors, which assist in starting the motor while keeping its operation steady.
Pressure Switch
Water pressure decides when the pump runs, thanks to the switch. Once pressure slips too low, that signal kicks the system awake.
Pump Motor
Buried far down within the well, this part powers the whole setup. Water gets pushed up because it spins the impeller.
Ground Wire
Faults happen. Grounding stops them turning dangerous by giving stray current a safe exit path instead. Sudden surges find their way into the earth rather than through you because of it.
How to Read an FPS Tri-Seal Submersible Well Pump Wiring Diagram
Wires on paper might look like chaos at first sight. Yet when taken apart piece by piece, patterns start showing through.
Follow the flow once you find where the juice comes from. Moving along, see how it travels past every part. Wires show up as lines on the page. Devices appear using shapes instead of words. Switches, motors – they get their own marks.
Picture this: a scene unfolds where something like this appears
- A wire runs from the breaker box, then connects at the pressure switch
- A wire runs from the switch toward the control box. This connection links both parts together. Power moves along it when needed. The path stays clear for signals to pass through. Each piece works only if joined right
- Floating beneath the control box, wires stretch toward the pump motor. Downward they go, linked without fuss. Reaching low, connections meet their destination. Not far off, cables follow a set path. Below, metal threads move steadily into place
One wire often has its own color mark. Think black means live, white stands for return path, green hooks to earth. Getting those links right matters every time connections happen.
Start by tracing just one line, not the whole picture. That way, things feel less overwhelming. Picking a single path first helps clear up confusion fast.
Step-by-Step Wiring Process
Turn Off Power First
First thing first – turn off electricity using the main breaker. Skipping this risks serious harm. Safety begins right there, nowhere else.

Check Every Part
Look at the pump, wiring, or control box – see if anything looks broken. Insulation should still be whole, while connections need to stay free of grime.
Connect the pressure switch
Fresh from the source, electricity flows into the pressure switch before anything else. Only then does it move toward the pump, guided by pressure needs.
Connect Wires to Control Box
If your system includes a control box, connect it according to the fps tri-seal submersible well pump wiring diagram. See that each terminal is fastened firmly into position.
Run wires to the pump
Besides the pump, wires need to run through the well’s length. Waterproof connections should hold things together, while careful fastening keeps cuts or wear away.
Ground the system
Start by connecting the ground wire where it belongs. Safety needs this just as much as following rules does.
Test the system
Power up after connections are secure, then run a quick pump trial. Hear how it hums – should be steady, without hiccups. Flow needs to move clean and even, not sputtering.
Common Wiring Mistakes to Avoid
Even with a clear fps tri-seal submersible well pump wiring diagram, mistakes can happen. Knowing typical errors helps avoid headaches later on.
A common slip? Mixing up the wire hues. That might cause wrong hookups, possibly wrecking the motor. Go over it twice before fastening things down.
Faults creep in when grounding falls short. A shaky ground turns the whole setup risky, opening doors to electric problems.
Faulty links show up too. Wires, shaken loose by constant movement, might quit working now and then.
Moisture might sneak into wiring down deep if there is no barrier. That happens most when protection gets left out.
Safety Considerations
Folks handling wires need to stay alert – moisture nearby changes everything. Wet conditions turn small mistakes into big trouble.
Start safe – grab tools made for insulation, put on protection. Power live? Wiring waits. Hesitate even once? Call someone certified before moving forward.
Folks need to stick to regional wiring rules too – safety benchmarks depend on it, so hazards stay low National Electrical Code guidelines. Compliance keeps things running right without extra danger sneaking in.
Troubleshooting With the Wiring Diagram
Far beyond setup, a wiring diagram helps track down issues fast – think of it as a roadmap when things go sideways. Sometimes confusion clears up just by following the lines others might overlook.
Start by looking at the power source if the pump stays off, then move to the pressure switch wiring. Where things connect matters – trace each point using the guide so you spot breaks in current. The layout shows how juice should travel; compare it closely.
A humming pump with no flow? Could be mechanical. Still, pull up the schematic – might cross off bad connections. Wiring checks clean? Then look deeper.
Faulty links somewhere in the circuit usually show up now and then. Check each joint carefully from start to finish. One frayed strand, one shaky fit – trouble follows.
Real Life Example to Understand Better
A single loose wire – overlooked during setup – can change everything. Picture someone fitting a submersible pump by hand near their garden well. They follow the fps tri-seal submersible well pump wiring diagram carefully but forget to tighten one connection in the control box. That small gap hides trouble just beneath the surface.
Fine at the start, things run without trouble. A handful of days later, though, the pump acts up now and then. They go back over the diagram once more, only then spotting the problem – a wire that isn’t secure.
A single overlooked wire can change everything. When steps get done right, results shift without warning. The small details are more important than they might seem at first.
Maintenance Tips for Long Term Performance
Fine wires set the stage. Over time, checks make sure everything keeps working right.
Now and then take a look at wires you can see – notice any fraying or harm. Where things plug in, make sure they stay tight. Wipe down the control box so dust stays out. Moisture must not gather inside it.

Popping by every now and then to check how things run keeps surprises away. Spotting small hiccups fast means fewer headaches down the road.
Conclusion
A well-installed system starts with a clear understanding of the fps tri-seal submersible well pump wiring diagram. Though it looks complex up front, splitting it into smaller parts helps make sense without confusion.
One piece fits after another, guiding how water moves without leaks. When the drawing is studied closely, errors that slow things down tend to disappear. Mistakes slip away when focus stays sharp. Each step matters just as much as the last, holding the whole thing together.
Starting fresh or fixing what’s there? The wiring diagram is still the go-to guide. Confidence comes easier when steps are clear, especially for those just getting started.