
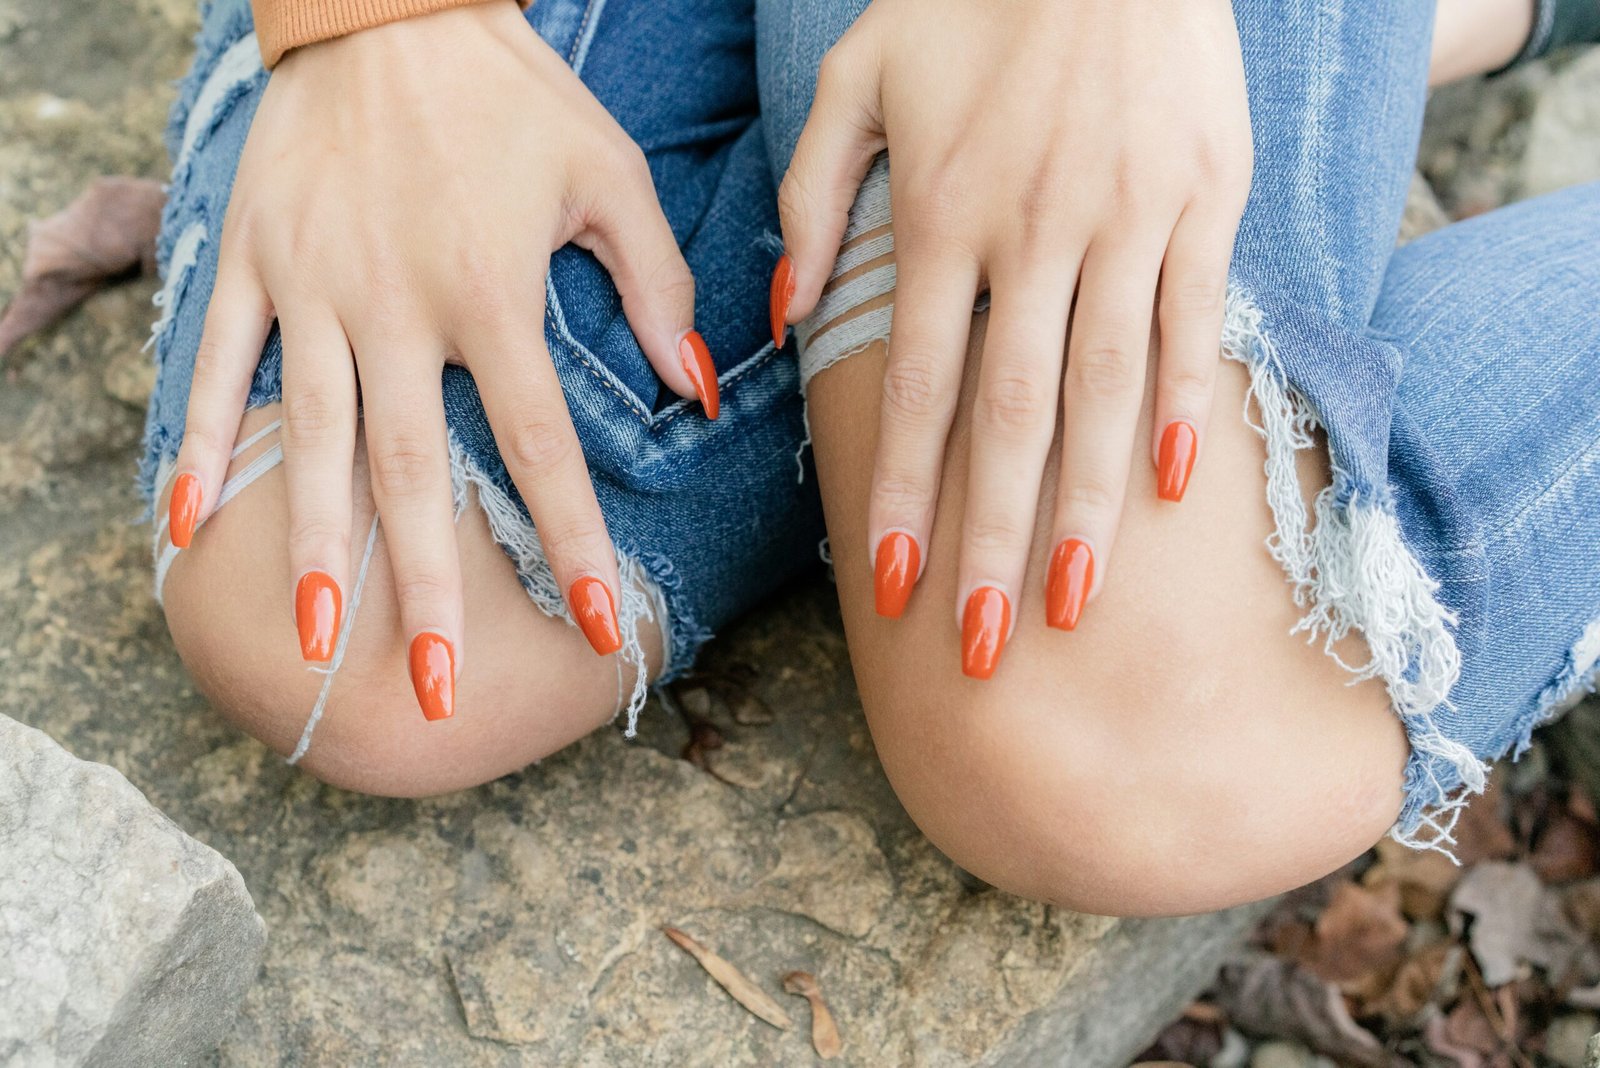
Builder gel is so popular now and everyone who is looking for more stronger and more durable nails but not so thick as acrylic nails. Because of how strong it is, builder gel can actually be used to help maintain the natural nail, to help them from being chipped and of course to help you achieve some amazing looking manicure that can stay in your nails for a few weeks. But because builder gel is very strong, it’s going to require you to be careful to remove it, because you’ll find yourself chipping your natural nail as you try to remove it.
Learning how to remove builder gel at home safely can save both time and money while helping you maintain healthy nails between salon visits. So understanding your builder gel will dictate the technique to remove them without forcing the product off! Soak off builder gel or hard builder gel, both processes are quite different and not to damage either.
This guide explains how to remove builder gel at home step by step, which tools you’ll need, common mistakes to avoid, and how to care for your nails afterward so this keeps your nails in good condition for your next manicure.
Why Proper Builder Gel Removal Matters
The thought of wearing a lifted or outgrown builder gel fill can drive some of us insane, and, before we know it we’re picking, pulling, and even trying to pry our builder gel off the nail. As innocent as this may sound, you’re likely to end up with more damage than you bargained for. The builder gel adheres firmly to the nail plate, so when it’s peeled off, layers of tiny parts of your natural nail plate go with it! This leaves your nails with a feeling that’s much softer and more fragile, and they’ll be noticeably thinner for a while, too, and the risk of splits and breaks will continue for weeks following the episode.
Understanding how to remove builder gel at home correctly helps preserve nail strength, reduces irritation around the cuticles, and supports healthy natural nail care before new gel applications adhere better in the future.
What Is Builder Gel?
Builder gel is a stronger, thicker gel made to extend natural nails and add a sturdy base to natural nails, making it one of the most popular nail enhancement techniques used in modern manicures. Once applied to the nail, it must be cured under a LED/ UV lamp.
Once cured, builder gel creates a hard, protecting overlay over your natural nail.
It strengthens the natural nail and is employed in extending the length of the natural nail via the use of a form or tip. Builders also repair natural nails to assist prevent them from breaking and snagging.
Depending on the manufacturer, builder gel falls into one of two categories:
| Builder Gel Type | Removal Method |
| Soak-off builder gel | Can usually be softened with acetone after filing the top layer |
| Hard builder gel | Cannot be dissolved with acetone and must be carefully filed down |
Knowing which type you have is the first step in learning how to remove builder gel at home safely.
How to Identify the Type of Builder Gel You Have
When did you get your nails professionally done? Did your nail technician tell you the product that was used to do them? If not there are a couple telltale signs that may assist.
In most cases soak-off builder gels will become softer when exposed to soaking in an acetone product for a few minutes, whereas a hard builder gel will remain harder no matter how long it is soaked. The harder variety of gel builder is typically used for creating longer, more extensive extensions due to its strength and durability.
If you’re still not certain as to the product type, don’t exert undue force – try to assume that the product may need filing instead of using sharp scraping techniques which may damage your natural nail plate.
Supplies You’ll Need Before You Begin
Gathering everything beforehand makes the process smoother and helps prevent rushing through important steps.
Recommended supplies include:
- Nail file (100/180 grit)
- Fine buffer
- Pure acetone (for soak-off builder gel)
- Cotton balls or cotton pads
- Aluminum foil or reusable nail clips
- Cuticle pusher or orangewood stick
- Nail brush
- Cuticle oil
- Hand moisturizer
- Small bowl (optional)
- Paper towel to protect your workspace
Having the proper tools nearby makes how to remove builder gel at home much easier and reduces the temptation to pick at partially loosened gel.
Prepare Your Nails Before Removing Builder Gel
Though this step is sometimes ignored, it does make the process easier: Clean and dry your hands well before starting. If you wear rings, be sure to remove them before you begin. The acetone can dry out the skin beneath any rings.
Choose a room with good ventilation.
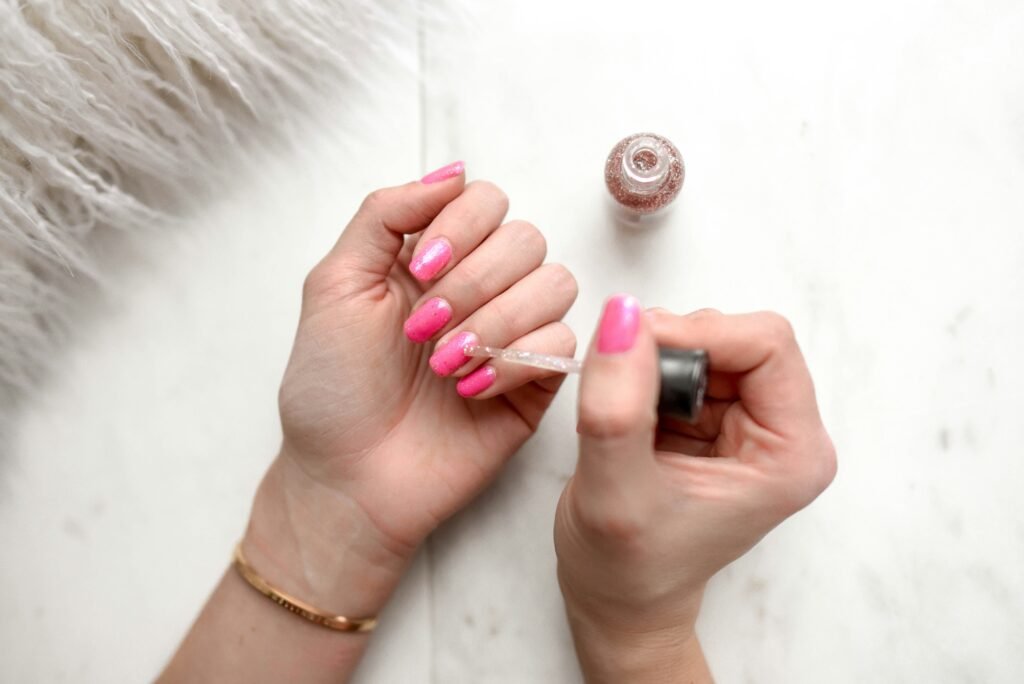
The acetone does give off rather potent vapors, and you do not want them building up. You should lay a towel or paper to protect the work surface under each nail you work on. Check each of your nails closely. If one is red, inflamed, painful or looks infected in any way, then you do not want to remove the polish, and should consult a manicurist or physician.
Step 1: Shorten Long Nails
For instances where your builder gel already has a length added to it, use nail clippers specific for fake nails and trim any of this additional length. Taking this product off can reduce some of the bulk making your remaining product more user friendly and less prone to cracking while you’re working over it. Leave a little bit of free edge and don’t trim your product too far down to the finger tip.
Step 2: File Away the Shiny Top Coat
One of the most important steps in how to remove builder gel at home is breaking the protective seal.
Smooth every nail with a medium-grit nail file to gently buff off the top coat. The porous texture makes the soak off gel very easy for the acetone to penetrate into. Just be careful not to file into your natural nail-you only want to remove the gloss from the top, not the builder gel. The top surface of the builder gel will appear matte.
Step 3: Protect the Skin Surrounding Your Nails
Acetone is fantastic at degrading gel but it can strip away the oils in your skin, which makes your hands feel very dry. This is where the little preventative steps comes in. Once you’ve wiped away any residue from your nails apply petroleum jelly or cuticle oil all around your nails, not directly on the builder gel, to form a protective seal. It only takes an extra minute but it can make a huge difference, particularly if you have sensitive skin or remove your builder gel frequently.
Step 4: Soak Off Builder Gel (For Soak-Off Formulas)
Once the shiny top layer has been filed away, saturate a cotton pad with pure acetone and place it directly over the nail. Wrap each fingertip tightly with aluminum foil or secure the cotton using reusable nail clips.
Allow the acetone to work for approximately 15 to 20 minutes without disturbing the wraps. At this point, the builder gel should become softer and start to loosen from the nail.
Resist the urge to unwrap the nails too early. Giving the acetone enough time to penetrate the product is one of the most important parts of how to remove builder gel at home safely. Pulling at partially softened gel can damage the natural nail and make the remaining product more difficult to remove.
What If Builder Gel Won’t Come Off?
How to Soak off Builder Gel Once you’ve been soaking your nails for 20 to 30 minutes and the builder gel is still rigid and refusing to give way, put down your scraping tool. First things first, you need to find out what product you are actually wearing. It’s important to note that not all builder gels are formulated to be removed in acetone. The standard ‘hard’ builder gel hardens into a really sturdy material and can typically only be filed off. If you keep picking or filing it off with a metal instrument, you might be chipping away at your actual nails rather than the gel product.
As an initial test, try filing off a small amount of the gel after soaking. If you notice that it’s starting to become softer, crumbly or even a bit rubbery then continue soaking and scraping for another period before doing any more. If the gel remains completely hard after a 20 to 30 minute soak, you’ll need to either start filing carefully and diligently with a file or consider getting help from a professional technician if you’re not yet comfortable with an electric file.
Common Mistakes to Avoid When Learning How to Remove Builder Gel at Home
It’s not that the builder gel itself is bad, people just have a tendency to try to speed up their removal, and in doing so cause nail damage. Avoid this simple mistakes and it’ll greatly improve the health of your natural nails.
Peeling or Prying Off the Gel
You may notice builder gel lifting at the edges after a few weeks, so it’s tempting to pick it off. But it’s actually bonded to the surface of the nail. The gel will be ripped away, along with healthy keratin layers of your nail – weakening and thinning the natural nail so it becomes brittle.
Filing Too Aggressively
Using heavy pressure filing too soon will generate heat and wear down your natural nail. Whether you’re using a hand file or an e-file, take small, gradual passes at your service, instead of aiming for the natural nail all at once.
Using Sharp Metal Tools
Metal scrapers can easily gouge the nail surface if used with too much pressure. A wooden orangewood stick or a gentle cuticle pusher provides better control and reduces the risk of accidental injury.
Skipping Cuticle Protection
Acetone removes oils from both the nails and surrounding skin, making cuticle hydration and nail care an important part of the removal process. Applying petroleum jelly or cuticle oil around the nail before soaking helps reduce dryness and irritation.
Rushing Between Soaks
Sometimes multiple soaking sessions are necessary, especially when the builder gel application is thick. Rewrapping the nails for another 10 minutes is much safer than forcing stubborn gel to lift.
How to Care for Your Nails After Removing Builder Gel at Home
The post-removal procedures are equally important to ensure the return of moisture. Hand hygiene with soap and water after application of acetone will wash away the residues and keep the hands from being sticky or smelling. Application of oils such as jojoba oil, or Vitamin E oil for cuticles and nails would help soften the cuticle, restore moisture and add flexibility, thus making the nail plate stronger and less prone to breaking or tearing after the application of acetone.
Application of a good moisturizing lotion for the hands to replenish skin moisture would do wonders.
A time period of several days should be allotted for natural nails to regain strength especially if they feel soft or have become fragile from the exposure to acetone before reapplication of any new enhancement. In the meanwhile, trim your nails into a reasonable length to help prevent breakage.
Can You Remove Builder Gel Without Acetone?
What alternatives to builder gel removed by acetone can be found: many prefer them because they fear excessive dehydration of the nails. The effectiveness depends on the brand and consistency of builder gel. Soft builder gels, designed to be removed by soaking in acetone, are barely effective with its removal products – a solution without this component.
It can cause slight softening of the material, but in rare cases it will completely break it down.
Hard builder gels do not lend themselves to removal with acetone or any solvent. In these cases, a manicure must be filed with a bit to thin it down to the state of a fine protective layer. Or entrust the procedure to specialists in equipment manicure. Homemade recipes (hot water, toothpaste, vinegar, lemon, alcohol) are not suitable for removing cured gel-builder; they usually take time and lead to painful and damage the plate of scraping the material with improvised means.
Signs You’ve Removed the Builder Gel Correctly
Many people continue filing because they think every trace of product must disappear. In reality, professionals often leave an ultra-thin layer of builder gel to protect the natural nail rather than risk over-filing.
You’ve likely removed the product successfully when:
- The nail surface feels smooth rather than bulky.
- There are no thick raised patches remaining.
- The natural nail is not painful or overly thin.
- There is no lifting gel catching on clothing or hair.
- The nail has a consistent appearance without deep scratches.
If you’re uncertain whether you’re seeing natural nail or a thin layer of remaining gel, it’s usually safer to stop filing than continue aggressively.
How Long Does It Take to Remove Builder Gel at Home?
The total time depends on the product, application thickness, and removal method.
| Removal Method | Estimated Time |
| Soft builder gel with acetone | 30–60 minutes |
| Hard builder gel by hand filing | 30–90 minutes |
| Professional electric file removal | 15–30 minutes |
| Thick multi-layer applications | Up to 90 minutes |
Conclusion
Learning how to remove builder gel at home safely is less about speed and more about protecting the health of your natural nails. Which type do you have?
The method you use will differ depending on if you’ve had soak-off builder gel or hard builder gel applied. Soak-off formulas will soften after time in acetone, so they will remove slowly over a few stages.
However, hard gels need to be filed off as they’re designed not to dissolve in the acetone.
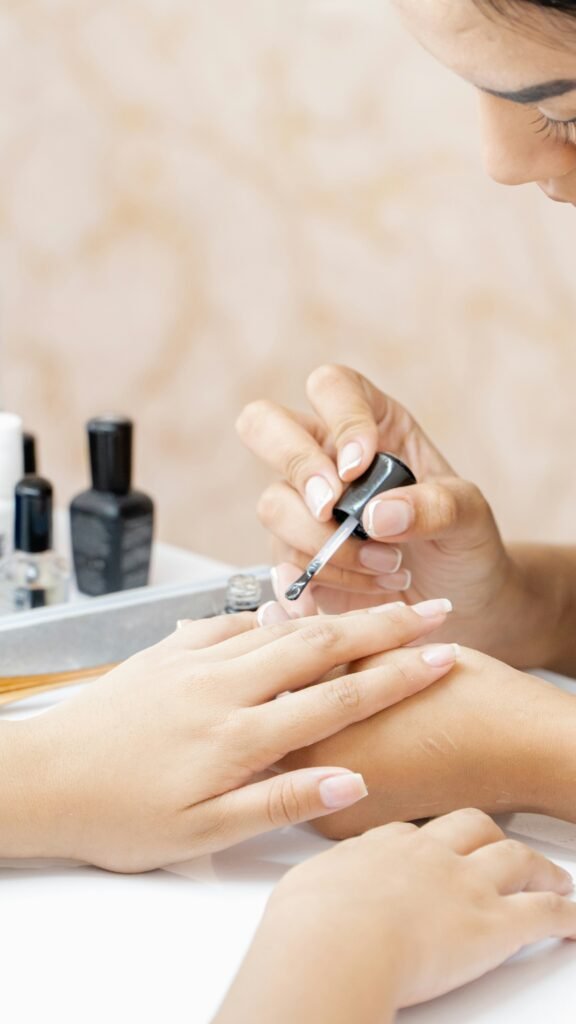
No matter what type of builder gel you have, please do not try and pick or pry at the product. A bit more time will stop you from causing splitting and damage to your nails, and if you need your nails to grow long again. Soak them in a nice moisturizing treatment after the builder gel is removed and leave them alone for a while. If you are ever in any doubt of what type you’re using, find the filing painful, or cannot tell the difference then it’s always best to head down to a professional.
That extra bit of care now, not only makes for a more perfect manicure but also results in a long-lasting beautiful one.
Frequently Asked Questions
1. Can I remove builder gel at home without damaging my nails?
Yes. You can safely learn how to remove builder gel at home by using the appropriate removal method for your gel type, avoiding peeling, and working patiently. Most nail damage occurs from forcing the product off rather than from the builder gel itself.
2. How do I know if my builder gel is soak-off or hard gel?
Refer to the label if applicable ( if its hard builder or soak-off builder). After applying acetone, the gel gets soft, whereas the hard builder will stay hard and may need to be filed. If you are uncertain, and you soaked it, do not continue scraping if the gel has not softened.
3. How long should I soak builder gel in acetone?
Most soak-off builder gels require approximately 10–15 minutes per soaking session. Thick applications often need two or three rounds before the softened product can be removed gently.
4. Can regular nail polish remover remove builder gel?
No. Most regular nail polish removers contain little or no acetone and are generally ineffective for removing builder gel. Pure acetone is typically required for soak-off formulas.
5. Is it safe to file off builder gel yourself?
Yes, provided you use a fine-grit nail file, remove the product gradually, and stop before reaching the natural nail. Over-filing is one of the most common causes of nail thinning.
6. Why are my nails weak after removing builder gel?
Weakening more often occurs as a result of the cuticle removal or picking and scraping with the builder gel too aggressively and too many filing motions to your natural nails than as a consequence of the builder gel alone. Use cuticle oil each night, moisturise your hands and give the nails a little break.
7. How soon can I apply builder gel again?
If your nails still look and feel healthy and in good shape, you should still be able to get more builder gel on as long as you have done your prep work correctly. If your nails are thin, tender and a bit brittle I would suggest waiting a couple of days, or longer, to let them recover and build strength back up before getting more builder gel applied.